Getting ready to transform your home with festive cheer? Installing Christmas lights can be a delightful way to ring in the season, but it requires some preparation. Let’s break it down step-by-step to ensure a hassle-free installation.

Evaluate Your Home’s Exterior
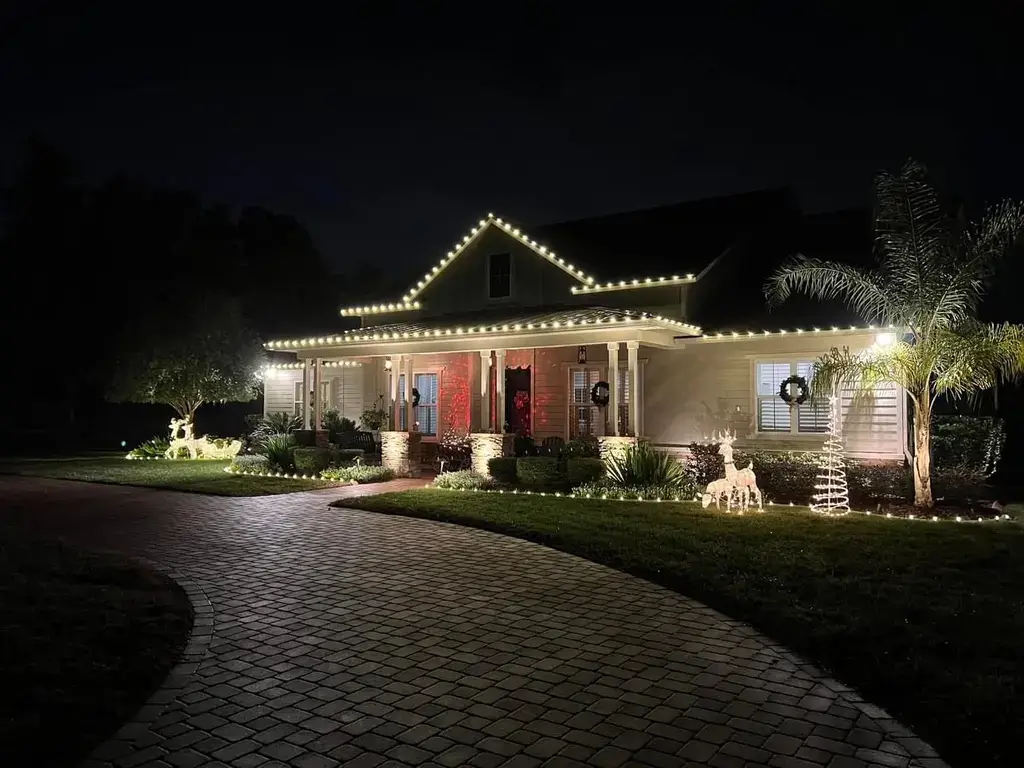
Start by taking a walk around your home and noting areas where you want to install lights. Consider the architectural elements you want to highlight, such as eaves, windows, or the garden. By having a clear vision, you can ensure that each bulb enhances the beauty of your home.
Understanding your home’s facade is crucial. Identifying focal points will allow you to create a visually appealing display. Think of the unique features of your home — perhaps a striking gable or an inviting porch — these can be illuminated to draw attention and unify your display.
Don’t forget your landscape when evaluating. Your garden, trees, and shrubs offer additional dimensions for showcasing lights. You can wrap string lights around trunks or use net lights to cover bushes, adding depth without overwhelming them.
Plan Your Lighting Design
Sketch out a plan or use design software to visualize your lighting ideas. This will help you decide on the amount of lights needed and the types you’ll use, like icicle lights or string lights. Consider sketching your layout on paper for a clear visual plan.
Incorporate your favorite colors and themes into your design. Whether you choose minimalistic white lights for a winter wonderland or vibrant multi-colored strands for a cheerful vibe, your light design should reflect your personal style.
If you are feeling overwhelmed, you might opt for a pre-designed setup or even professional help. The experts at The Christmas Light Installation Process can guide you, ensuring your vision turns into reality seamlessly.
Measure Required Lengths
Use a measuring tape to determine the lengths of your rooflines, pathways, and any other places you plan to illuminate. Accurate measurements ensure you purchase the right amount of lights.
Double-check corners and awkward spaces to ensure they are not overlooked. Skipping these areas could result in uneven lighting, so measure meticulously to get a complete picture.
These measurements do not only include horizontal stretches but also vertical drops, especially if you’re planning to hang icicle lights or wrap columns.
Check Electrical Outlets and Safety
Inspect your exterior outlets and extension cords for any signs of wear. Ensure all equipment is suitable for outdoor use to prevent shock or fire hazards.
Safety must be front and center in your preparations. Consider hiring a professional if you are unsure about electrical safety elements—your safety comes first.
Outlets closer to your planned display areas will reduce the need for excessive extension cords, which can become hazards themselves. Shine Window Cleaning covers this in depth.
Gather Your Tools and Supplies
Compile the necessary tools, such as ladders, hooks, and timers. Having everything at hand will streamline the installation process, allowing for a smooth setup.
You might consider additional elements like light clips and outdoor-rated extension cords found on many holiday checklists. These tools are vital for not only a successful installation but reducing time spent searching for supplies halfway through your project.
Using timers adds convenience and energy savings. This way, your lights can turn on and off at pre-set times, saving electricity and extending the lifespan of your decorations.
Test Your Lights Before Installation
Plug in your lights before hanging them to ensure they’re in working order. This step can save you considerable trouble in the long run.
Don’t assume that new lights will work flawlessly out of the box. There’s nothing worse than getting your lights installed, only to find out that there are non-working sections once it gets dark.
Having spare bulbs on hand is always a good idea. Often, a single faulty bulb can cause a whole string to malfunction, so quick replacements are beneficial.
Schedule Time for Installation
Choose a day with good weather to reduce any complications. Set aside a day or a few evenings to methodically install your lights, reducing stress and ensuring it’s an enjoyable activity.
Timing is everything, especially when you aim for a setup that captivates. Earlier decorations have a longer visibility window and let you enjoy the festive spirit more.
Remember, tackling the task bit by bit, perhaps in segments, can prevent overwhelm and preserve the joy of decorating.
Illuminate Your Home With Ease
With these steps, your home will be ready to shine brightly and safely for the holiday season. Remember, preparation is key. Enjoy the process and spread the festive cheer!