
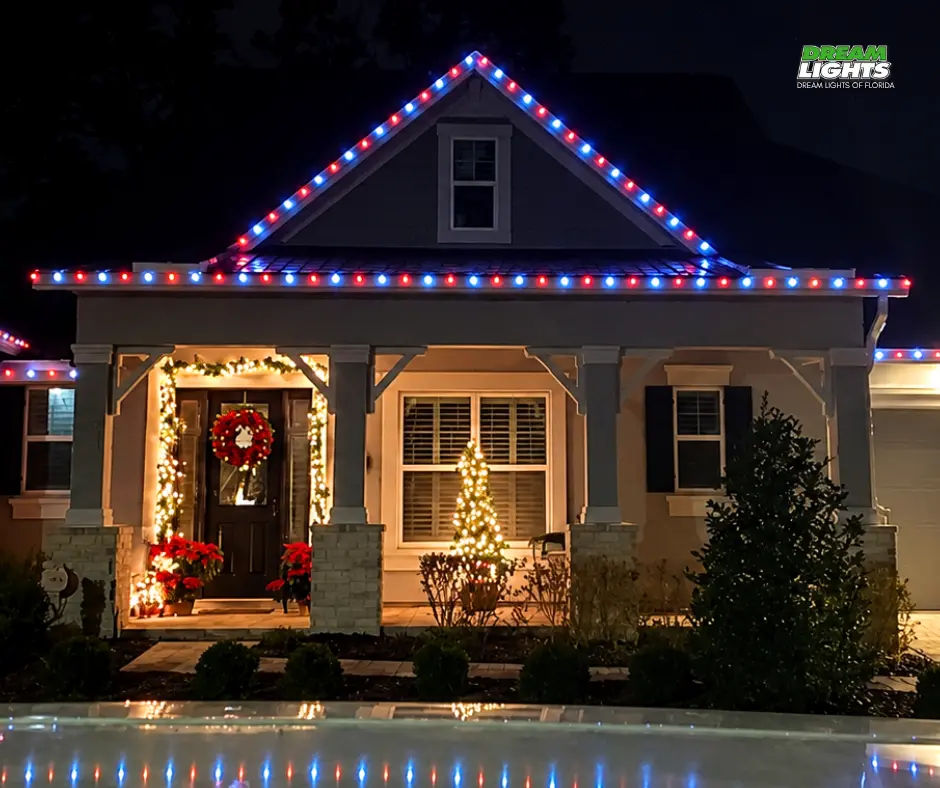
The holiday season is upon us, and nothing sets the festive mood quite like beautifully hung Christmas lights. Whether you’re a first-timer or a seasoned pro, installing Christmas lights can be both a joyful and daunting task. Here, we provide you with some top tips to make your We Hang Christmas Lights installation shine bright this year.
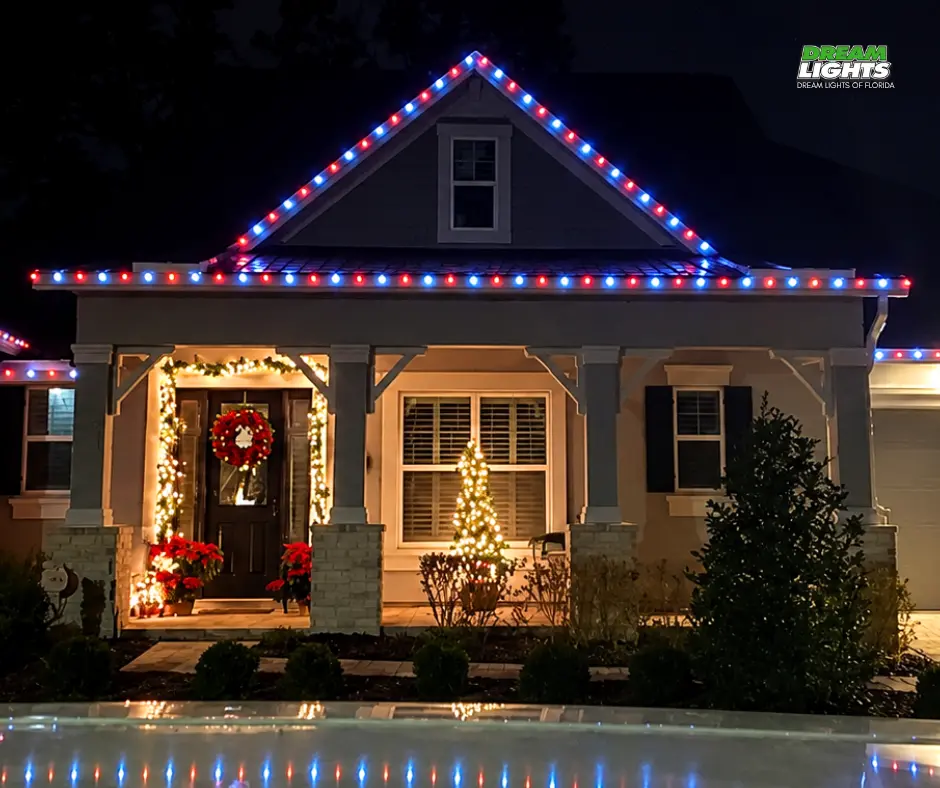
1. Plan Your Design
Before you dive into hanging lights, take some time to plan the design. Visualize the areas you want to illuminate and decide on the style and color scheme that best fits your holiday spirit. Are you aiming for a classic look with white lights or something more vibrant and colorful? Consider using software or a sketch to map out your design. This step ensures that your installation is cohesive and balanced. By planning ahead, not only do you avoid last-minute changes, but you also bring your creative vision to life more smoothly.
Incorporating a theme can also enhance the overall aesthetic of your design. For instance, a winter wonderland theme could focus on cool blues and whites, while a cozy cabin theme might highlight warm amber tones. Additionally, it helps to think of your home’s architectural features as part of the design. Highlighting eaves, rooflines, or even pathways can add an elegant touch that ties the whole look together.
2. Choose the Right Lights
There is a wide variety of Christmas lights available. Consider energy-efficient LED lights for durability and cost savings, and ensure they are suitable for outdoor use if needed. LEDs are not only brighter but also last longer than traditional incandescent bulbs, which can translate into savings on your electric bill. Additionally, if you’re looking for variety, there are different bulb sizes and shapes, from mini-lights to C7 and C9 sizes, which can be mixed and matched for added visual interest.
When selecting lights, don’t just focus on the bulbs. Pay attention to the wires and plugs, as they need to be sturdy enough to withstand outdoor conditions. Look for lights that are designed for the specific environmental conditions of your area. Lights with higher IP ratings are built to better resist moisture and dust, which can be crucial in harsher climates.
3. Test Your Lights
Before installing, plug in your lights to ensure they work. This simple step can save you a lot of time and frustration later on. Identifying non-functional strands before installation allows you to make necessary replacements or repairs without having to take down already-hung lights. Also, while testing, consider checking how the lights will look at different times of day, especially at night, to gauge their effect.
4. Gather Necessary Tools
Having the right tools on hand can make installation easier and safer. Items like a sturdy ladder, light clips, and extension cords are crucial for a smooth process. Make sure your ladder is tall enough to reach high places but not so tall that it becomes unstable. Light clips are ideal for securing your lights without damaging gutters or shingles. Remember to wear gloves to protect your hands and avoid potential injury from sharp edges or cold temperatures.
5. Consider Power Sources
Evaluate the locations of your power sources to avoid overloading circuits. Consider using a smart plug or timer for automated on/off settings. This not only adds convenience but also increases efficiency. By setting your lights to a schedule, you ensure they are on during the peak viewing times and off when not needed, conserving energy. Extension cords should be rated for outdoor use and the connections kept off the ground and protected from moisture.
6. Start with Easier Sections
Begin your light installation with easier-to-reach areas. Getting these done first will build your confidence for tackling trickier spots. Focusing initially on windows or porch railings, for example, can help you quickly see progress, which can be motivating for the more complex parts of your installation. It also allows you to refine your techniques—like light spacing and clip placement—before moving onto larger or higher areas.
7. Safety First
Prioritize safety by checking for damaged lights or frayed wires. Always use a stable ladder and avoid hanging lights in wet conditions. Ensure your ladder is on level ground and that someone can steady it if needed. It’s also wise to avoid any places that could become slippery, such as rooftops or sloped surfaces, particularly in cold or wet weather. By incorporating these safety practices, you’ll have a safer and more enjoyable decorating experience.
8. Use Clips for Easy Hanging
Light clips are a great tool to keep your installation neat and damage-free. They make it easy to attach lights to gutters, roofs, and other surfaces. Clips provide a secure hold and minimize the need for nails or staples, which can damage your home’s exterior. They also allow for easy removal after the holiday season, ensuring a quick teardown. Plus, many varieties of clips are reusable, offering savings in future years.
9. Create Highlight Areas
Focus on creating focal points in your display, such as framing windows or doors, to add layers and depth to your design. Highlighting specific architectural elements can enhance your home’s features, giving a sophisticated touch to your holiday display. If your home has a distinctive element like a tree-lined walkway or an ornamental gazebo, consider making it a central piece of your lighting design.
10. Experiment With Patterns
Don’t be afraid to experiment with different lighting patterns and effects. Twinkling lights or changing color patterns can add a dynamic element to your display. Using a pattern, like alternating colors or arranging lights in waves, can create motion and attract attention. Experimenting with such creative touches can make your display unique, creating a standout look in any neighborhood.
11. Factor in Weather Conditions
Consider your local weather conditions when installing. Secure your lights to withstand wind and ensure connections are safe from moisture. In windy areas, using zip ties can provide additional anchoring to withstand strong gusts. For rainy climates, ensuring that connections are tight and sealed can prevent outages or damage—using waterproof plugs and sockets is a smart choice for outdoor displays.
12. Keep It Simple
Sometimes, less is more. If you’re short on time or resources, focus on a few key areas to make an impact rather than trying to cover every space. Choosing one or two standout sections—like the front entrance or a large tree—can often create a more memorable look than an overly busy display. Simplicity can highlight these focal areas, giving a polished and refined aesthetic to your holiday setup.
13. Ask for Help
Don’t hesitate to ask family or friends for help. Having an extra set of hands can make the process quicker and more enjoyable. Working together not only lightens the load but also turns the task into a festive group activity. Plus, others may bring new ideas and viewpoints to the planning process, enhancing the outcome of your display.
14. Regularly Check Your Display
Inspect your installation regularly to ensure everything remains in tip-top shape throughout the holiday season. A quick walkthrough every week can help you spot any lights that have burnt out or sections that need adjustments. This regular maintenance ensures that your display remains bright and cheerful from the first night to the last.
15. Enjoy the Process
Most importantly, enjoy the process. Let your creativity shine as you create a festive atmosphere to be proud of. Relish in the moments spent decorating; after all, creating a beautiful display is as much about the journey as it is the result. Cherish the personal touches and unique ideas that your signature display will bring to your home, embracing the holiday spirit in every strand of twinkling light.