
The festive season is upon us, and with it comes the beloved tradition of decorating our homes with sparkling Christmas lights. While the idea of transforming your home into a winter wonderland is exciting, the thought of untangling those lights and getting them up without a hitch can be daunting. But fear not! With a few handy tips and tricks, you can have the most stunning display on the block in a stress-free way. Let’s dive into some simple strategies to make your Christmas light installation merry and bright.
1. Plan Your Design
Before you start, take a moment to visualize how you want your display to look. Consider focal points such as trees, doorways, and rooflines. Sketching a rough plan can save you time and help you stay organized. Mapping this out allows you to conceptualize your decorations and streamline the entire installation process. Having a clear outline in mind can turn a potentially stressful task into a creative endeavor.
If you’re feeling overwhelmed, start small. Focus on one area of your home to highlight this year, and gradually expand your design in the coming years. This incremental approach can make the task less daunting and more manageable. Remember, sometimes less is more, and a well-placed strand of lights can speak volumes.
2. Gather Essential Tools
Having the right tools at hand can make your installation process smoother. Gather extension cords, zip ties, and a sturdy ladder, so you’re fully prepared to tackle any height or space. An organized toolbox will save you from last-minute searches and potential frustrations while decorating.
Double-check that your ladder is in good condition and can reach all necessary heights. Ensure that all extension cords are outdoor-rated if you plan to use them outside. Keeping safety in mind from the start can keep interruptions at bay and make your installation experience one to remember fondly.
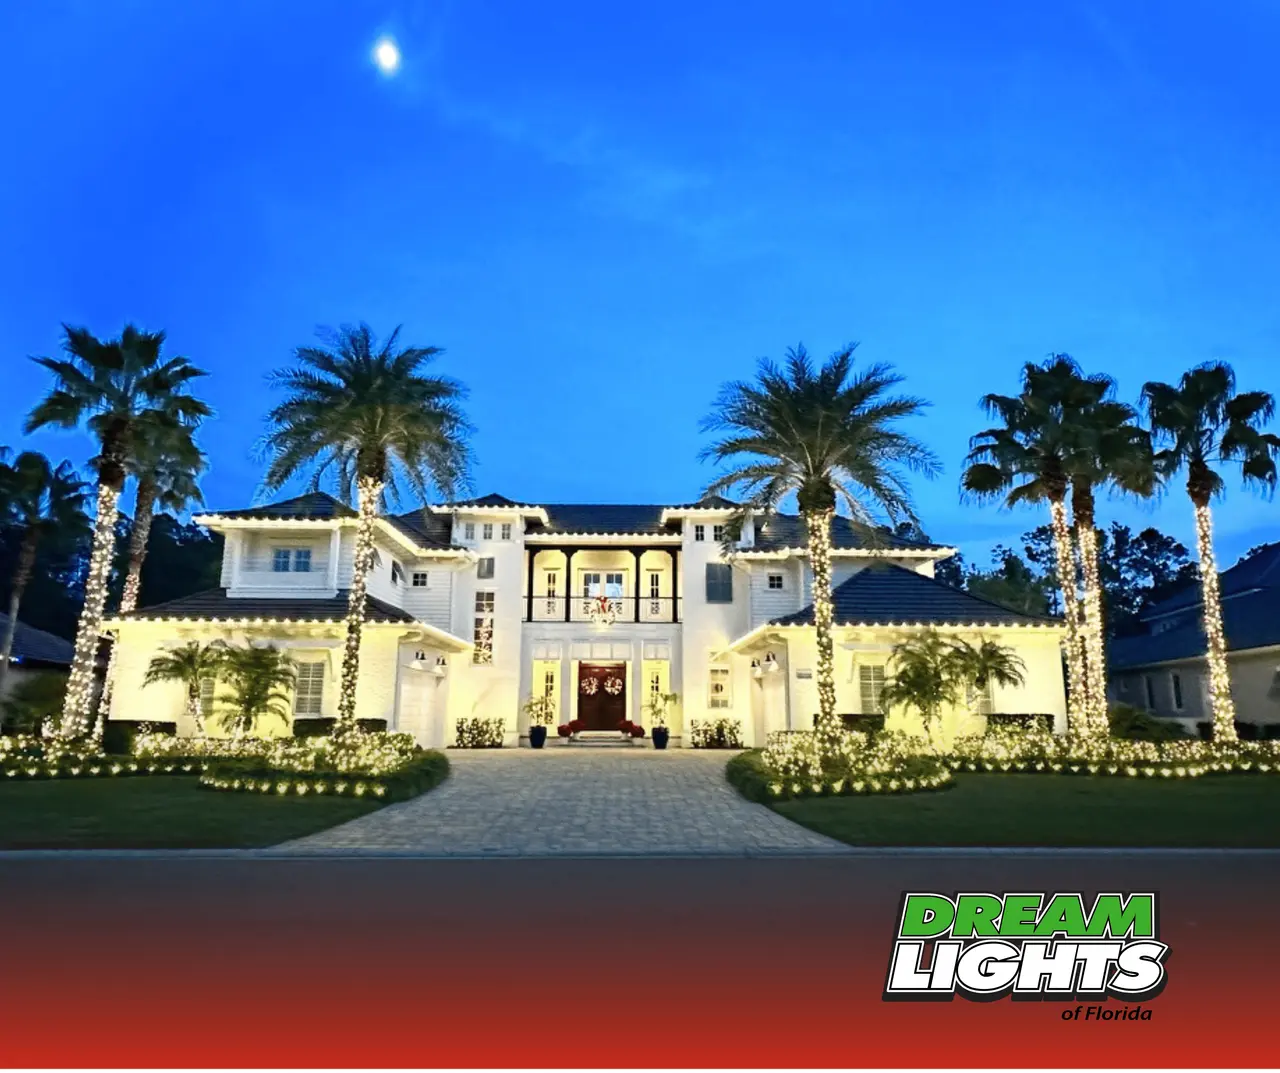
3. Choose the Right Lights
LED lights are energy-efficient and long-lasting, making them an ideal choice for your display. Consider the color scheme and type, such as icicle or string lights, to match your desired aesthetic. LED lights consume less electricity and are less likely to overheat, reducing the fire risk and helping lower your energy bill.
In addition to energy savings, variety is key when selecting lights. Explore options from multicolored bulbs to warm, white classics. Each choice offers a different ambiance, so envision what mood you wish to evoke in your setup, and run with it. Mixing different types can add depth and interest to your display, making it truly stand out.
4. Test Your Lights First
Before hanging, plug in your lights to check for any blown bulbs. This small step can save you the headache of having to troubleshoot once they’re already up. Testing each string on a dry night can also prevent a bigger problem of discovering faulty lights in the middle of setup.
Remember to check the fuses as well, as they may need replacing to ensure all lights work correctly. Keeping spare bulbs and fuses handy will help you swiftly tackle any issues without pausing your festive flow. If certain parts are consistently failing, it might be worth investing in a new set for peace of mind.
5. Use Hooks and Clips
Avoid damaging your home by using light clips or hooks instead of nails. These are easy to install, remove, and will keep your lights securely in place. Not only do they safeguard your walls and roofline, but they also ensure that when it’s time to take down your lights, the process is just as seamless.
Light clips also help prevent sagging lines, maintaining a neat appearance. Consider using adhesive hooks for areas where clips won’t fit, like windows or door frames. By investing in these tools, you’ll preserve the beauty of your home and streamline installation and removal year-round.
6. Start From The Top
Work your way down from the highest points. This ensures that any needed adjustments are simpler to handle, and the lights hang naturally without tangles. This top-down approach can also help prevent the lights from becoming knotted as you work, saving you time and frustration.
As you progress downward, you can handle any twists that arise more easily, and the lights will drape smoothly rather than catch or snag. Furthermore, this method ensures a cohesive pattern, making any changes easier to manage since you’re not disturbing or redoing previous work.
7. Safety First
Take safety precautions seriously. Set up a stable ladder, work in pairs if possible, and avoid working on wet or icy surfaces. Safety should always be your priority, ensuring that the joyous task remains joyful.
Make sure your area is clear of obstacles, and use protective gloves to avoid scratches from hooks or clips. Keep children and pets away from ladders and light strands during installation. It’s better to take your time and ensure safety than risk an accident.
8. Involve the Family
Make it a family affair! Assign tasks and turn the installation into a festive activity that everyone can enjoy and contribute to. From choosing the light colors to deciding on the design, each member can play a role in bringing Christmas magic to life.
Let younger children help with lower lights or offer them simple untying tasks. This involvement can create cherished family traditions for years to come, infusing the task with warmth and togetherness. After all, the best decorations are made with love and laughter.
9. Consider Timers
Use timers to automate when your lights turn on and off to save on energy and eliminate the daily task of plugging them in. A timer ensures your house is always welcoming with the glow of holiday cheer, even when you’re not home.
Timers allow for an energy-efficient display without any thought or effort once programmed. Set your lights to turn off late at night and resume at dusk, providing a hassle-free dazzling show that’s perfectly timed throughout the month.
10. Store Lights Properly
Once the season is over, neatly coil your lights to prevent tangling, and store them in a cool, dry place. Proper storage ensures they’re ready to shine again next year. Avoid throwing them in a heap as it leads to breakage or time-consuming knots.
Consider using labeled boxes or reels specifically designed for string lights. Keeping them organized helps prolong their lifespan and makes setup easy when the holiday season returns. A little effort now will lead to a quick and easy transformation later, maintaining your stress-free approach to holiday decorating.